Course Flyover
The 18 Hole Championship Course
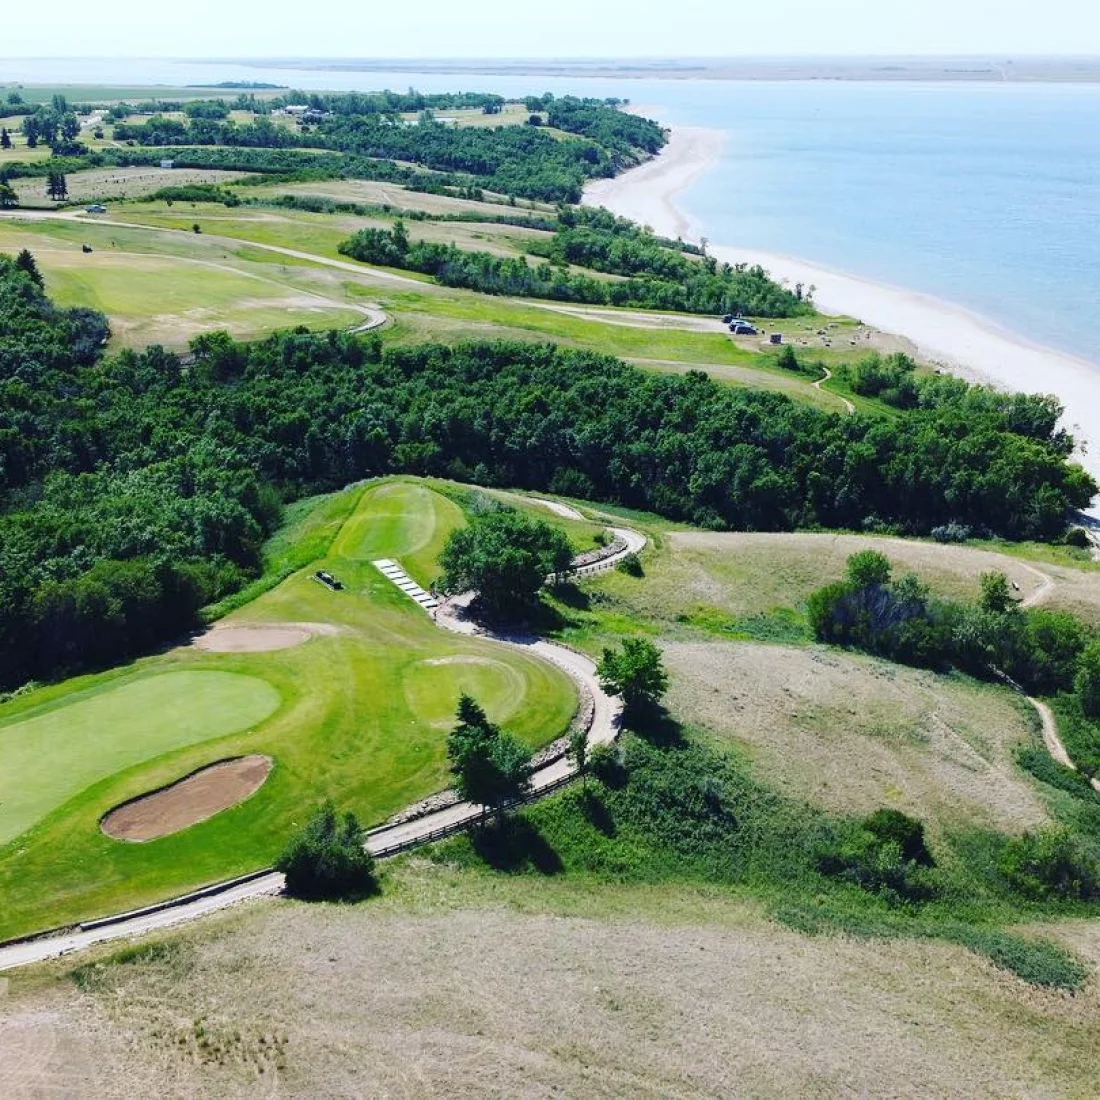
Enjoy panoramic views of the mighty Lake Diefenbaker, enjoy not only the golf course, but our full service restaurant with a patio overlooking the marina.
Harbor Golf Course was built in the late 80’s by the provincial government. The course is located on provincial government land in the Harbour Recreational Site and is leased to shareholders. The RV Park was added in 2022.
Hole By Hole
Hole 1

Blue Tee: 364
White Tee: 347
Yellow Tee: 324
Blue/White Handicap: 9
Yellow Handicap: 7
Slight Dogleg left PAR 4 with out of bounds on the left side. Hit a club that will position you close to the 150-yard marker. Large green guarded by bunkers on either side, with the RV park at the back.
Hole 2

Blue Tee: 540
White Tee: 507
Yellow Tee: 434
Blue/White Handicap: 1
Yellow Handicap: 11
A lengthy PAR 5 where you must hit driver off the tee. Hitting your second shot as close to the creek crossing the fairway gives you the best shot at birdie. Careful with your second shot as the fairway is protected by water on both sides and a creek crossing in front of the green. Large green with tricky breaks.
Hole 3

Blue Tee: 377
White Tee: 352
Yellow Tee: 321
Blue/White Handicap: 5
Yellow Handicap: 13
A great PAR 4 with water going down the left. Hit to 150-yard marker and then hit to center of the green instead of at the pin. Two tier green and guarded by a bunker on the left and one in the back.
Hole 4
Blue Tee: 151
White Tee: 99
Yellow Tee: 72
Blue/White Handicap: 15
Yellow Handicap: 1
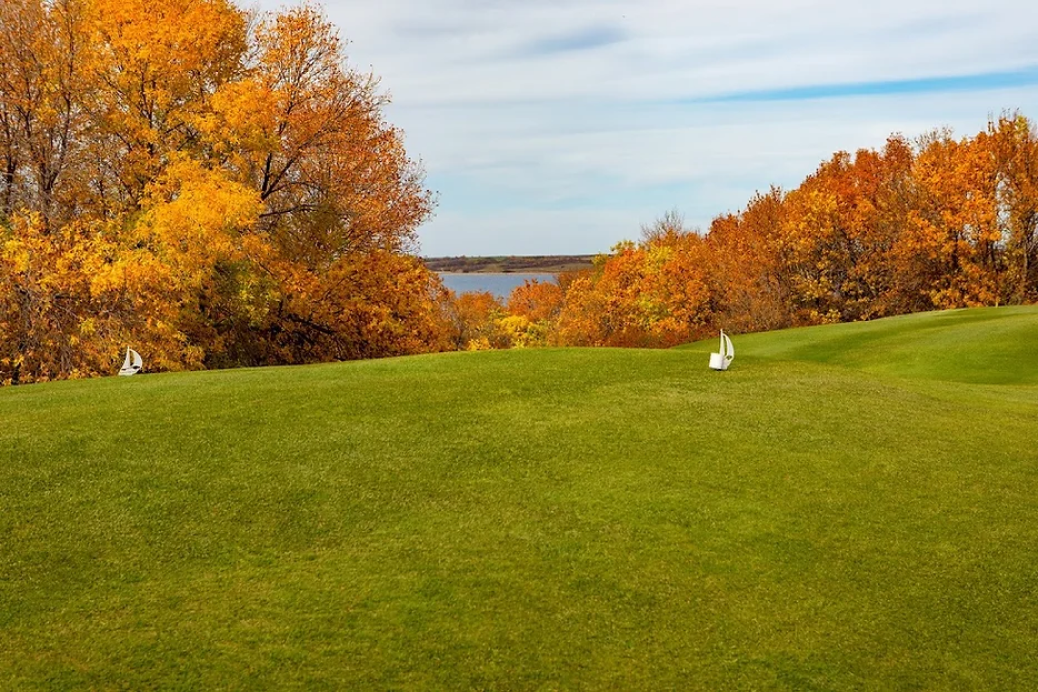
Short PAR 3 which needs your full attention! Best play is center of the green.
Hole 5

Blue Tee: 309
White Tee: 279
Yellow Tee: 232
Blue/White Handicap: 17
Yellow Handicap: 17
Short-ish PAR 4 with slight curve to the right. A straight shot about 200 yards will nicely place you in the attack the pin zone. Back left pin placement is a tricky pin. Hit to the center of the green for best chance at birdie. Easy to make 3, 4, 5 or other on this hole.
Hole 6
Blue Tee: 399
White Tee: 370
Yellow Tee: 340
Blue/White Handicap: 3
Yellow Handicap: 9
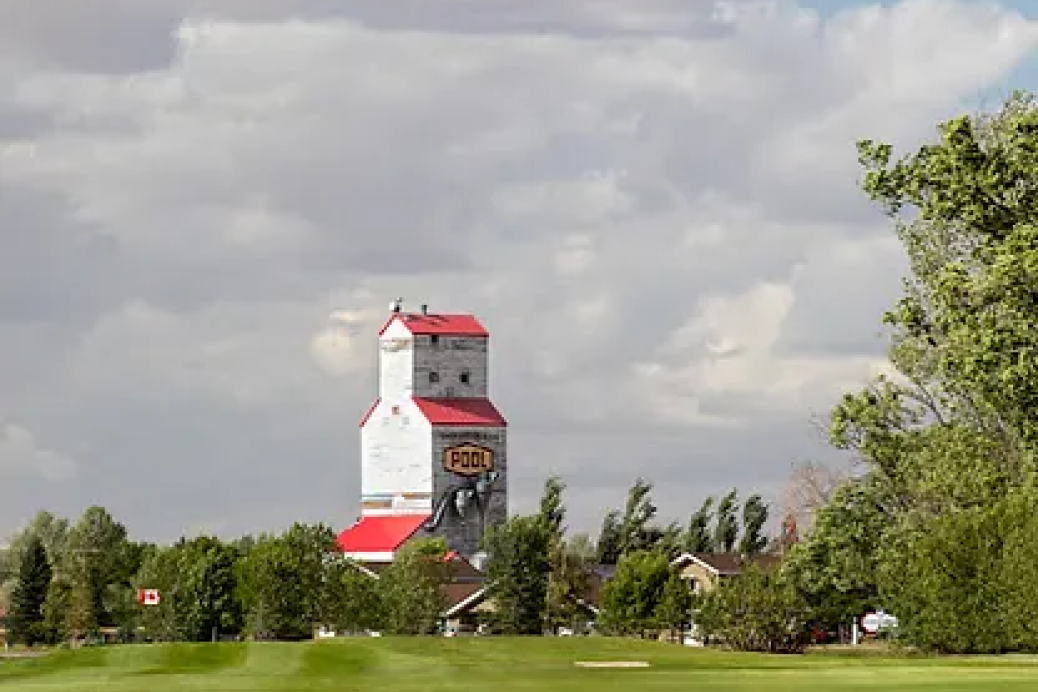
Tough PAR 4. Long accurate tee shot is required. Fairway is protected by trees, brush and sand. Hitting inside the 150 is best and hitting to the center of the green is also best. Green is well guarded with a pot bunker on the right and a large bunker on the left. Four is a good score here.
Hole 7
Blue Tee: 504
White Tee: 486
Yellow Tee: 445
Blue/White Handicap: 11
Yellow Handicap: 15
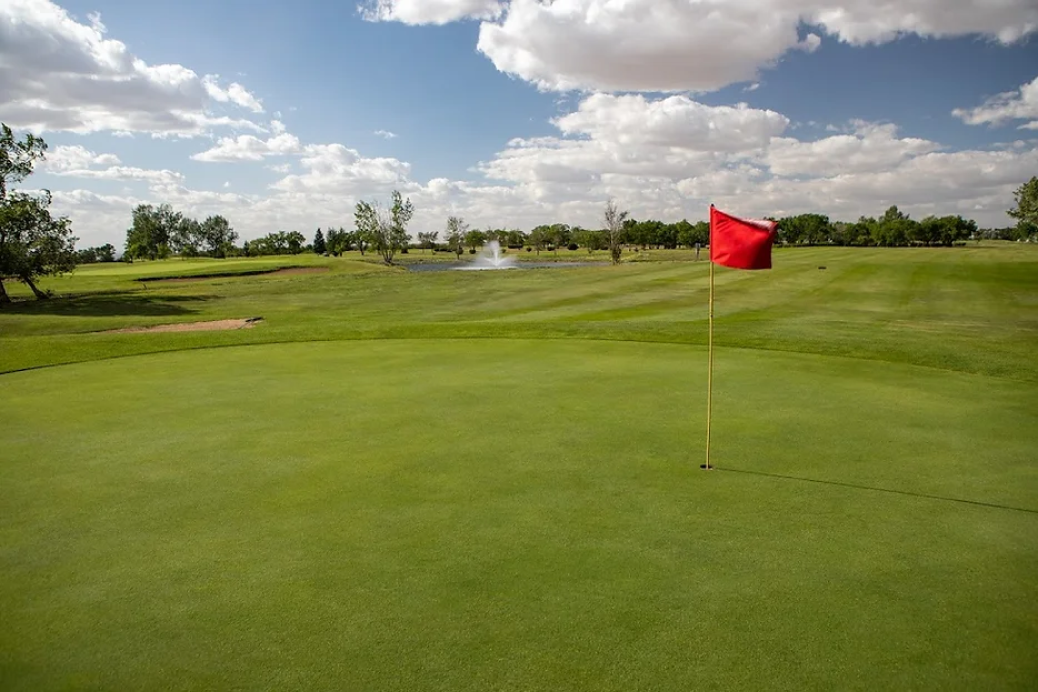
Great long PAR 5 needing a straight tee shot, a straight second shot and a straight third shot. Water comes into play on your second shot which is on the right. Trees and out of bounds guard the left side of the fairway. Narrow green with bunkers on the front left, large bunker on the right side and a smaller one about mid green on the left.
Hole 8
Blue Tee: 178
White Tee: 158
Yellow Tee: 126
Blue/White Handicap: 13
Yellow Handicap: 3
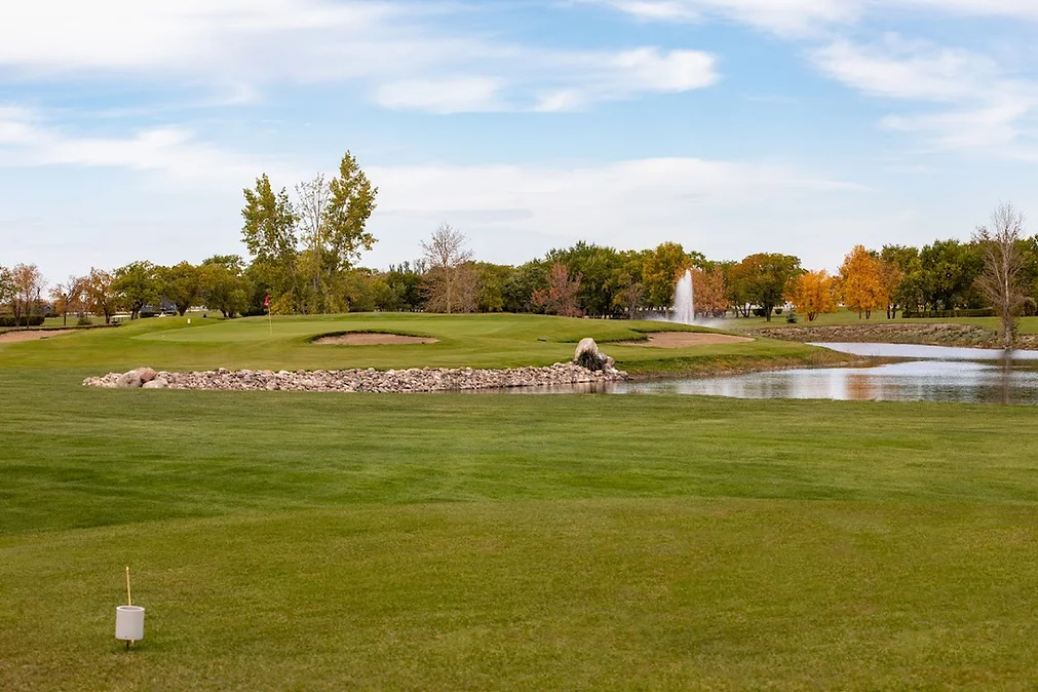
Neat PAR 3 which needs a long accurate tee shot. Green is guarded with water on the right as well as bunkers on the right and left. Make three here and move on!
Hole 9

Blue Tee: 375
White Tee: 368
Yellow Tee: 325
Blue/White Handicap: 7
Yellow Handicap: 5
Fantastic front nine finishing PAR 4. Long tee shot is required to take advantage of the large landing area. Fairway bunker guards the right side of the fairway. Long narrow green guarded by a bunker on the right and out of bounds on the left. Play to the center of the green for best chance at par. After making par stop in at the clubhouse to celebrate as not many people make par on that hole!
Hole 10

Blue Tee: 383
White Tee: 367
Yellow Tee: 334
Blue/White Handicap: 10
Yellow Handicap: 8
PAR 4 with wide-open fairway and a large green with a bunker on the right protecting it. Tough pin when its on the left side as the green narrows up.
Hole 11

Blue Tee: 162
White Tee: 142
Yellow Tee: 110
Blue/White Handicap: 14
Yellow Handicap: 10
Tough PAR 3 to a long narrow green guarded by two bunkers. One right and one left. Hit to the center of the green. Hole plays a little longer than the yardage indicates as it is all carry.
Hole 12
Blue Tee: 380
White Tee: 365
Yellow Tee: 333
Blue/White Handicap: 8
Yellow Handicap: 12
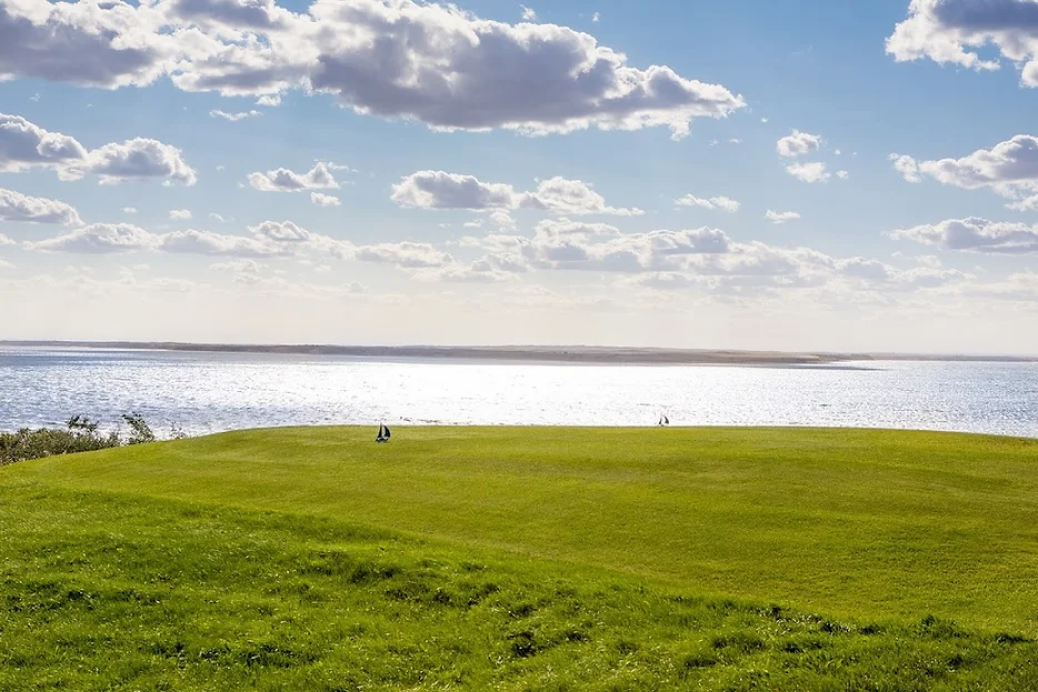
Great dogleg left PAR 4 requiring a long straight tee ball. Hitting over the trees will give you the best option for a short second shot. Bunker on right of fairway is in play off the tee. Don’t cut too much off the corner as everything bounces to the left and there is a hazard all down the left. Hard green to hit as there are bunkers left and right that come in to play. Four is a great score!
Hole 13
Blue Tee: 582
White Tee: 550
Yellow Tee: 518
Blue/White Handicap: 4
Yellow Handicap: 4
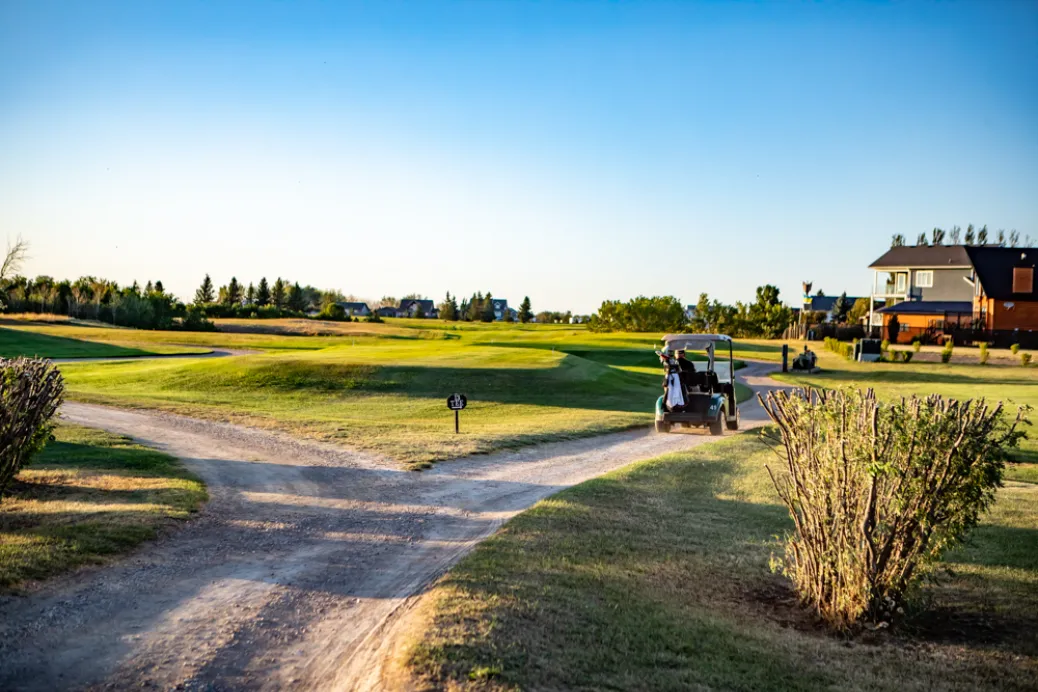
Long rolling PAR 5 with out of bounds all down the right side. Good tee shot required and a good second shot will leave the average golfer at the 150-yard maker. Third shot requires an accurate shot to a long narrow green. Tough pin to get to when it is in the front and back locations. Best to hit the center and take your two-putt par.
Hole 14

Blue Tee:339
White Tee: 314
Yellow Tee: 293
Blue/White Handicap: 18
Yellow Handicap: 18
Short PAR 4 with a slight left to right fairway. Fairway is protected by a waste bunker on the right, but this hole gives up a lot of birdies. Iron off the tee leaves a 120-yard shot to the green. Large green with one bunker on the left.
Hole 15

Blue Tee: 110
White Tee: 93
Yellow Tee: 66
Blue/White Handicap: 16
Yellow Handicap: 16
Our signature hole is a memorable short par 3 with Lake Diefenbaker as the backdrop. Accuracy is key—shots short land in the trees, and long ones face a tough pitch back to the green, depending on the pin location. The challenge continues on the green, which is wide but not deep, with a bowl at the front center. Make a 3, then soak in the stunning views of Lake Diefenbaker, especially magical in the evening.
Hole 16
Blue Tee: 395
White Tee: 346
Yellow Tee: 193
Blue/White Handicap: 2
Yellow Handicap: 2
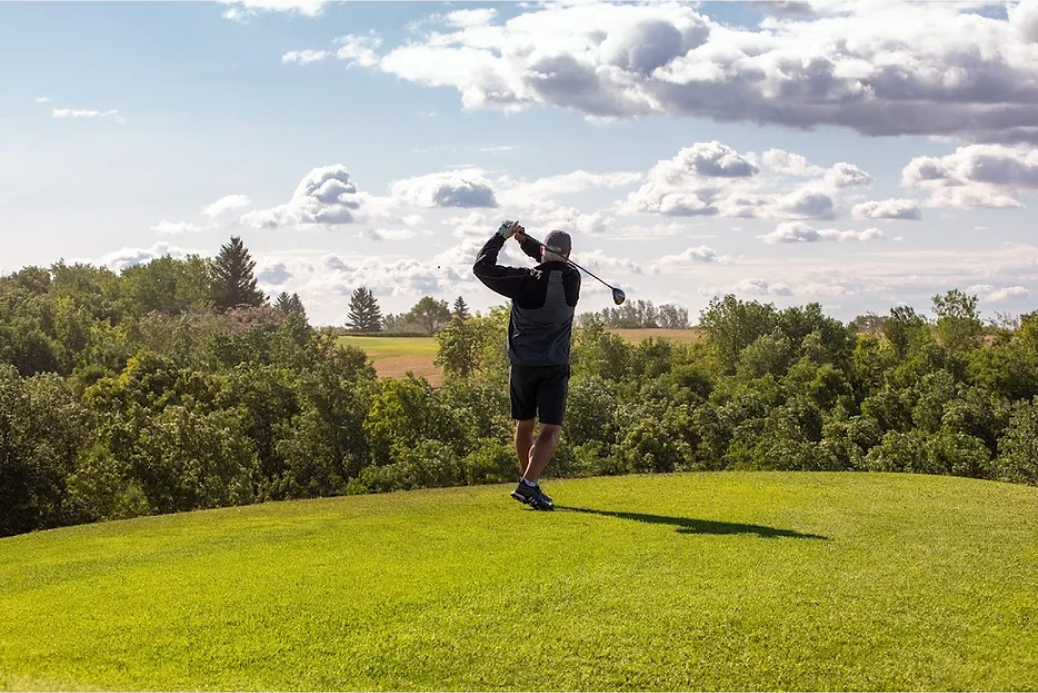
Amazing PAR 4. Long tee shot required as you must hit over a ravine. Your tee shot can’t be left, right, or short! A good tee shot will leave you at the 150 – yard marker. Approach shot is to a narrow green with bunkers left and right.
Hole 17

Blue Tee: 361
White Tee: 340
Yellow Tee: 320
Blue/White Handicap: 12
Yellow Handicap: 14
Short PAR 4. Three wood or long iron off the tee is all that is needed. Green is large with a bunker to the right. Second shot should be a short iron and at any pin placement on the green. Flat green with subtle breaks.
Hole 18
Blue Tee: 388
White Tee: 370
Yellow Tee: 347
Blue/White Handicap: 6
Yellow Handicap: 6
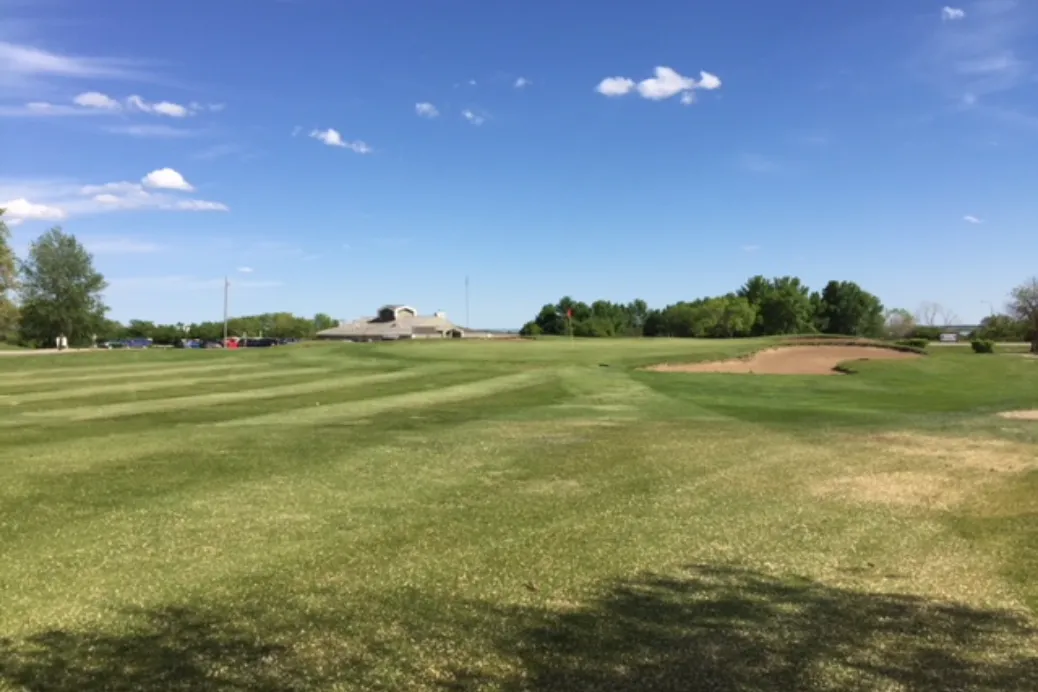
Best finishing PAR 4 in the Province. Long, small landing area, fairway bunker on the left, mounds, and trees to the right. Long tee shot gets you to the 150. Green is well protected by bunkers front right and left as well as back. Best second shot is to middle of the green and two-putt for par. If you make par on this hole celebrate…not many people make par here!
